¶ What are Custom Categories?
Custom Categories offer a way to group your files without needing to rearrange your actual folders. Think of them as internal "tags" or "labels" for your mods.
These categories have no effect on how the game reads your files, they exist solely to help you stay organized within the Mod Manager. This is a great tool for users who prefer to keep their files sorted by creator or type, but still need a quick way to manage specific collections across those different folders.
Example Use Case:
Imagine you have your CC sorted into folders based on the original creators. If you want to enable or disable seasonal content for Halloween or Christmas, you don't have to go digging through every single creator folder. Instead, you can simply tag those specific items with a "Halloween" Custom Category. Once tagged, you can filter for that category or toggle all those files on and off with a single click.
Use in filter
Click here to learn how to use custom categories as filters.
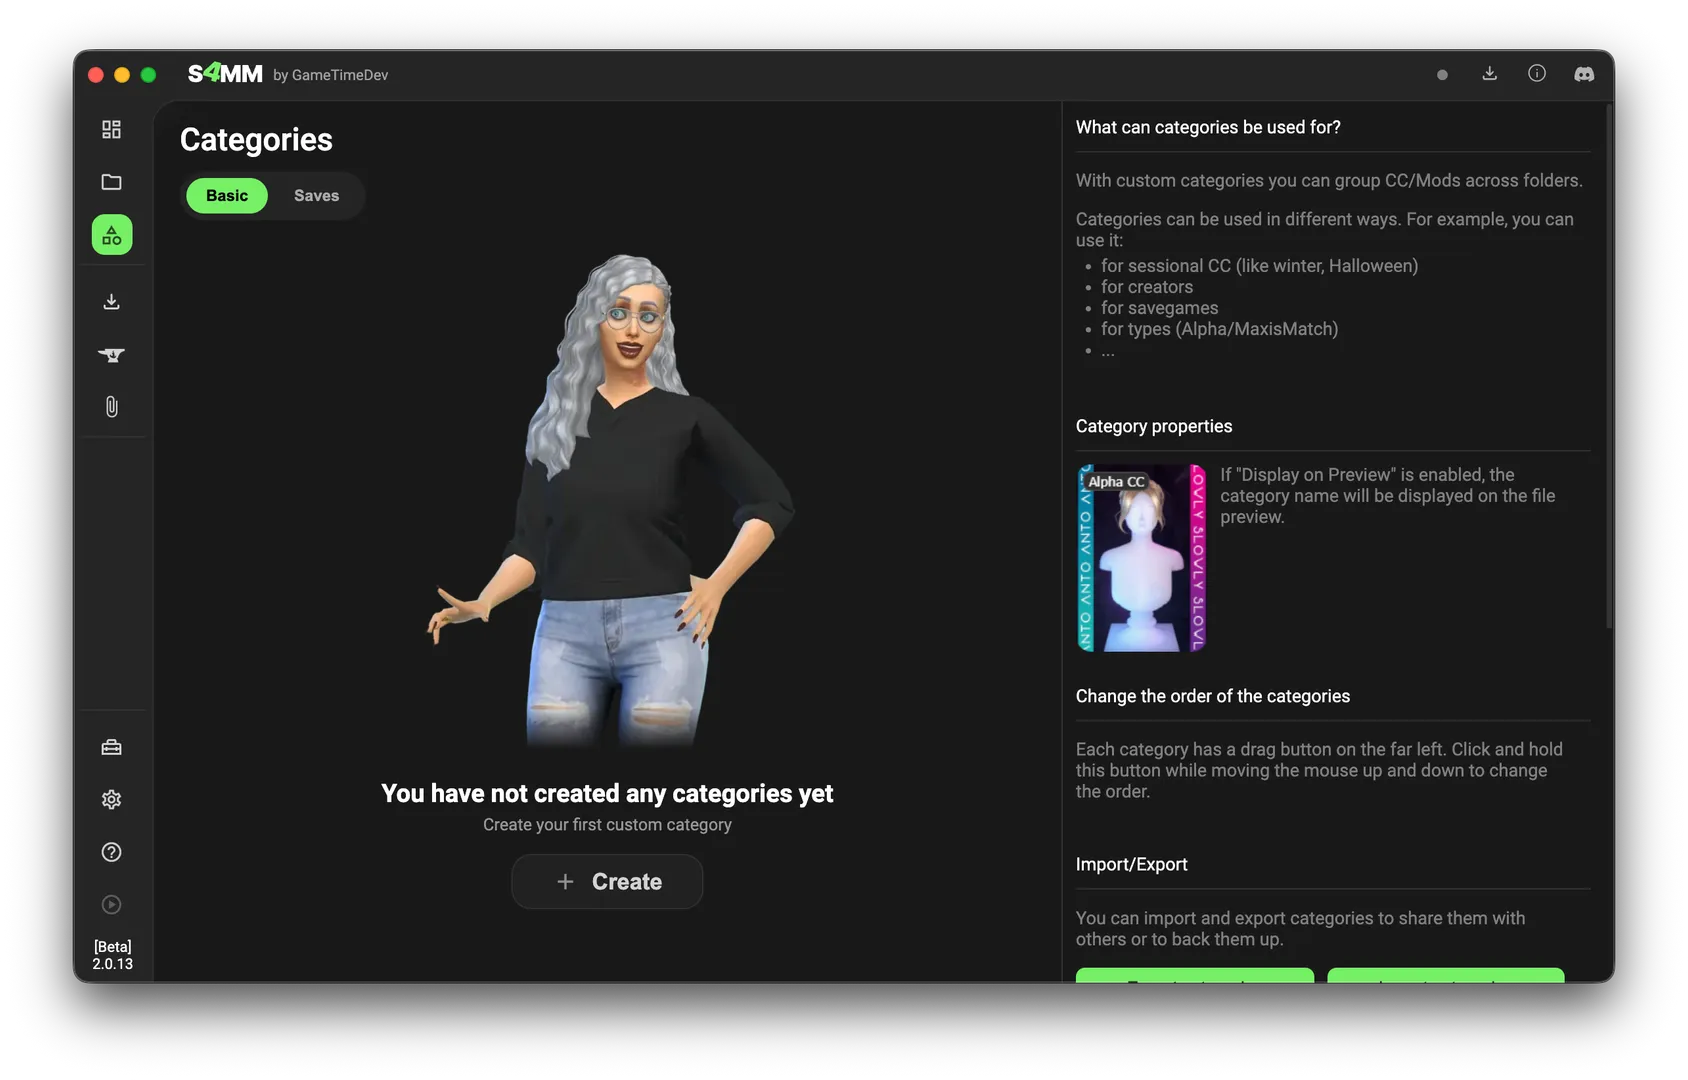
¶ Basic Custom Categories
In this tab, you can create and manage your existing custom categories. When you first open the section, the list will be be empty.
¶ Creating a Category
To get started, click Create, choose a name, and confirm. You’ve now established a new label you can use to group your mods.
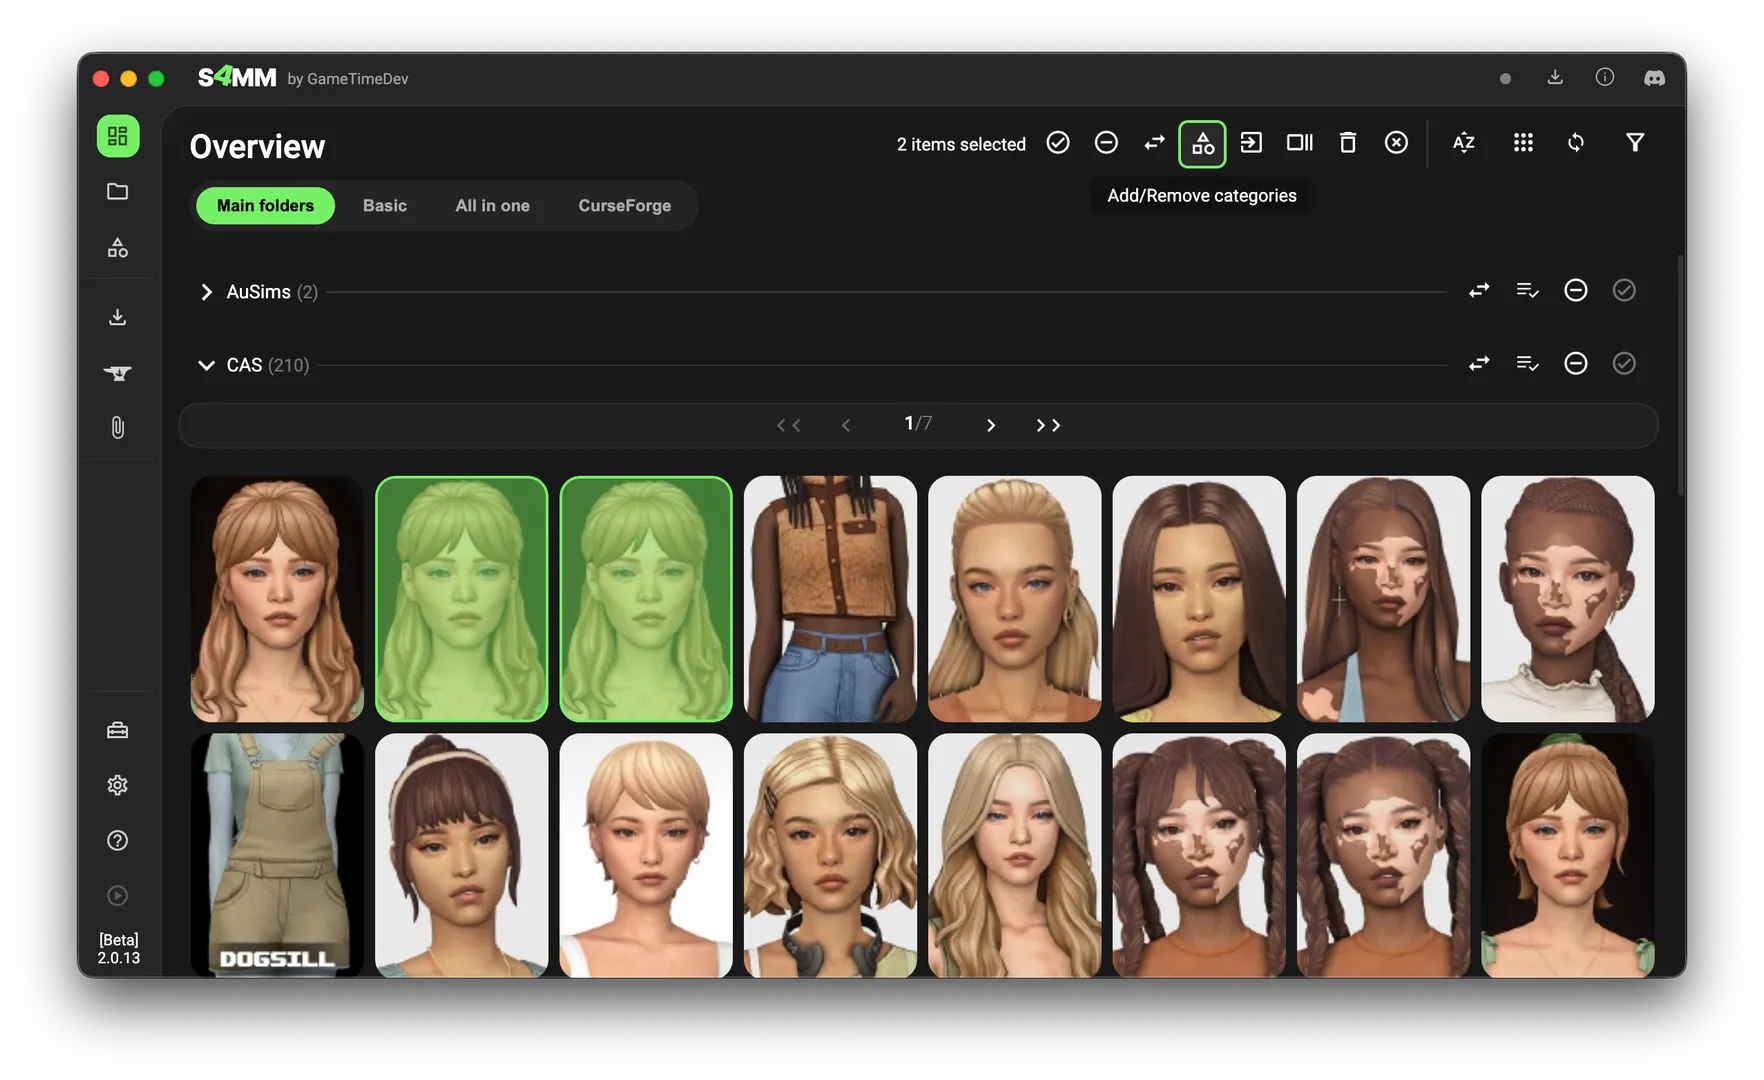
¶ Applying Categories to Files
You can assign these categories to your files throughout the Mod Manager by looking for the Categories icon.
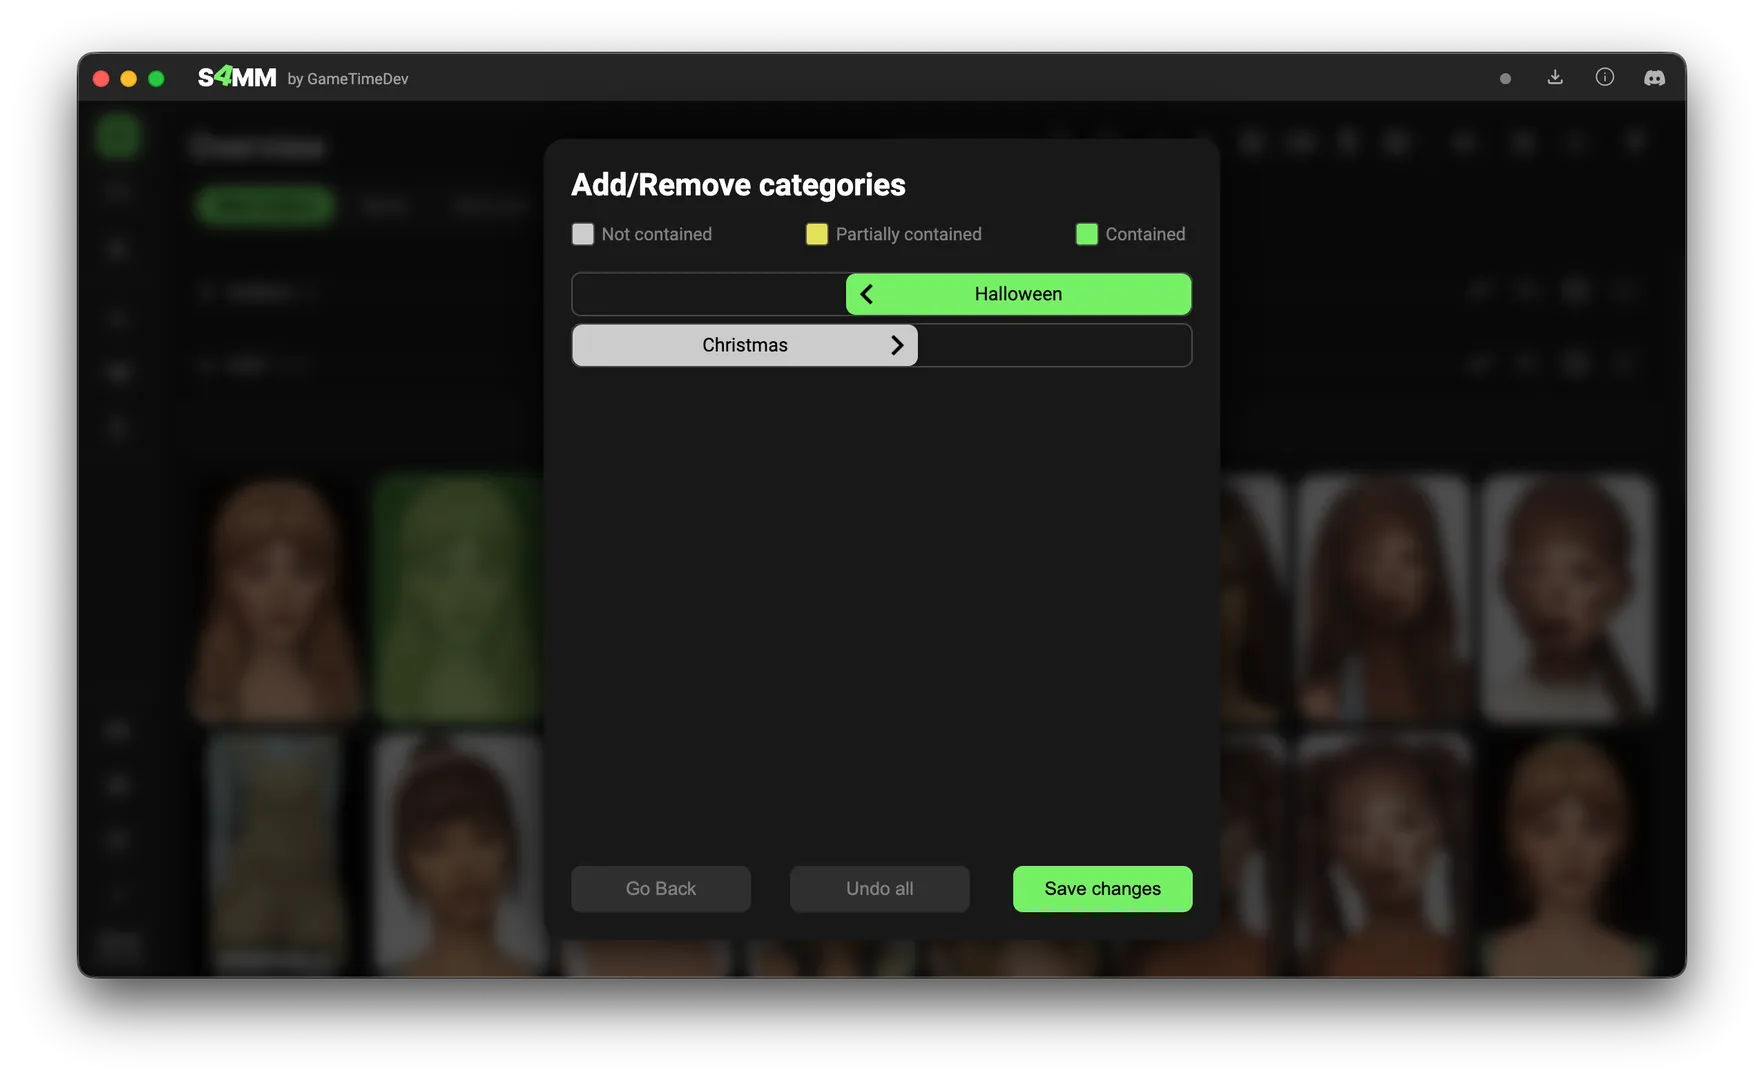
For example, in the Overview tab, you can select multiple files and click Add/Remove categories.
A popup will show you which categories are currently applied to your selected items. From here, you can check or uncheck the boxes to update your selection and save the changes.
¶ Automatic Tagging
If you have a large collection, you can use Automatic Tagging to sort files based on their filenames.
To set this up, click Use automatic tagging on a specific category and add your keywords. Type a word into the input field and press Enter to add it. You can remove a tag at any time by clicking the "X" next to it.
When this is active, the manager scans filenames for your keywords and automatically applies the corresponding category.
¶ Using Negation
You can refine these rules by clicking the + symbol next to a tag to turn it into a - (minus). This tells the manager to ignore the category if that specific word is found.
Example:
- Filename:
garden_chair_retro.package - Category "Chair": Tagged with
+chair - Category "Hair": Tagged with
-chairand+hair
In this case, the file will be added to the "Chair" category but excluded from "Hair" because of the negative tag.
¶ Managing Your Categories

You can organize and control your categories directly from the main list:
- Reorder: Click and hold the dots on the left of a category to drag it up or down.
- Enable (✅): Enable all files assigned to this category at once.
- Disable (⛔): Disable all files assigned to this category at once.
- Edit (Pen): Rename the category.
- Delete (Trash): Remove the category. This only removes the label; it does not delete your actual mod files.
¶ Save Game Categories
Save Game Categories function similarly to Basic Custom Categories, but with one key difference: they are generated automatically using the Save Game Tool.
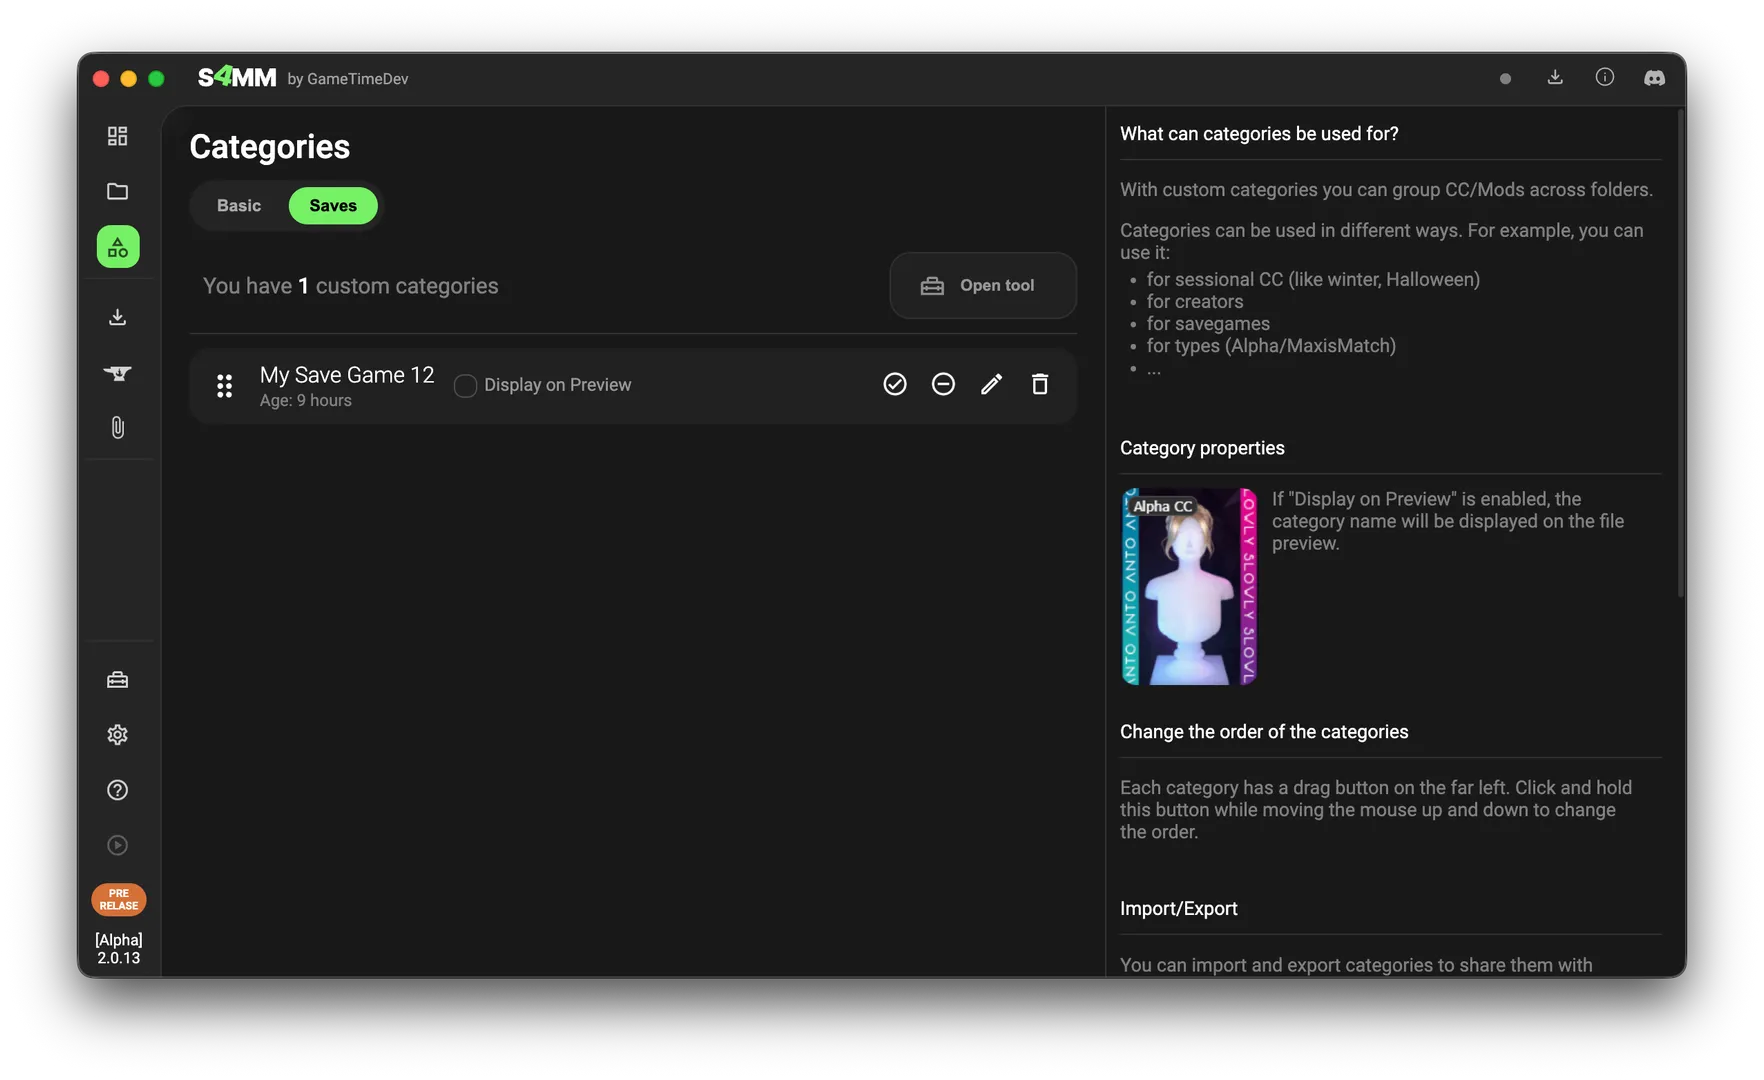
You can launch this tool via the Tools tab, or by clicking Open tool directly within the Save Game Categories tab.
¶ How to Create Them
Once you have scanned a save game, click Custom Categories inside the tool to begin configuring your new category.

Next, select the specific data you want to include in this category.
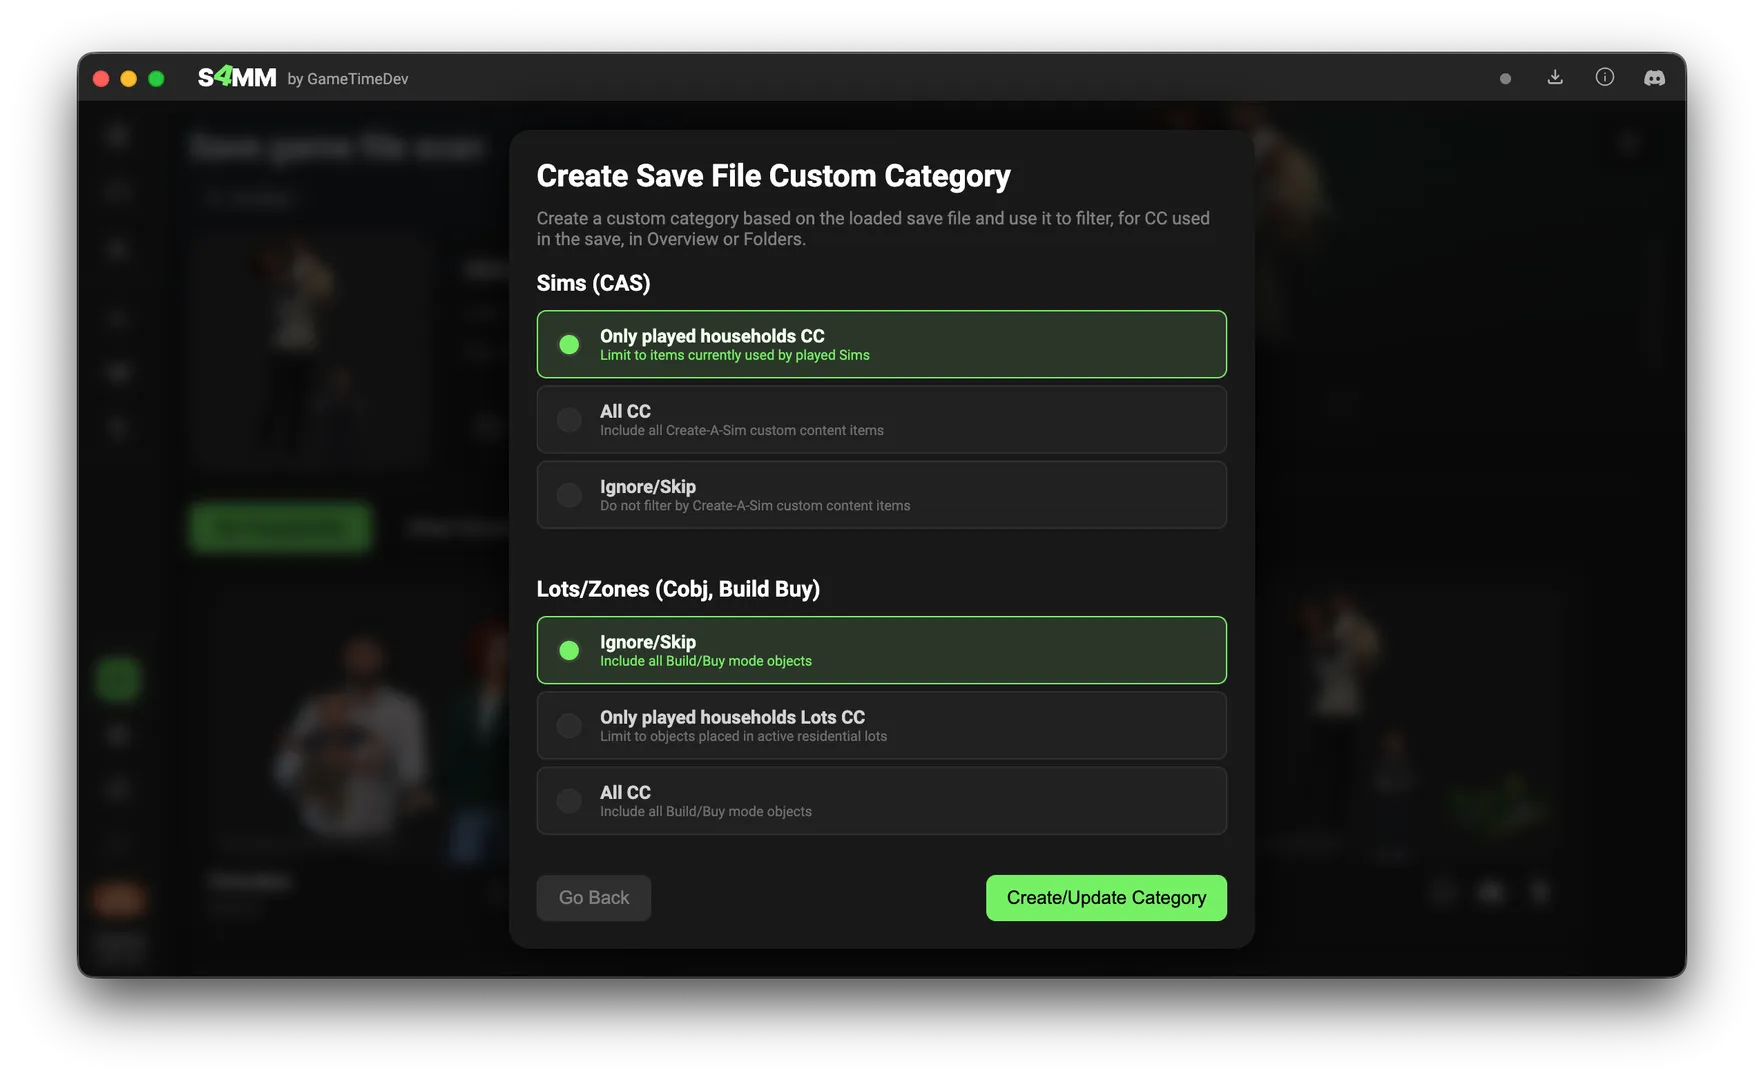
By default, the tool only includes items used by your played households in Create-A-Sim (CAS). You can adjust these settings to fit your needs, but keep in mind a major technical limitation: the tool can only detect CAS and Build/Buy items. It cannot detect script mods, UI mods, or other complex game modifications.
ONLY CAS & BUILD/BUY
Only Create-A-Sim and Build/Buy CC will be detected! It cannot detect script mods, UI mods, or other complex game modifications.
¶ Updating Categories
If you have previously created a category from a save file, the Mod Manager will remember which file it came from. When you run the tool again, it will give you the option to either create a new category or update/replace a category that was created with an older version of that save file.